
What your CDN caches, and for how long, should be a decision, not an accident. The cache follows the panel’s defaults until you set your own rules, and the place to set them is one collapsed row named Cache Valid: a list of HTTP status codes the CDN may cache, each with a fixed duration you choose.
This guide sets those rules for the whole resource, then narrows them per URL path with locations, from a bypass for endpoints that must stay live to path-specific durations, and finishes with purge, the tool for content that changes before its duration expires.
Prerequisites
- An active CDN resource created for your hostname. See Add Your First CDN Resource.
- Your domain pointed at the CDN and serving traffic through it, so the cache has something to hold. See Point Your Domain at the CDN.
- Client Area access to the package.
Why Set the Durations Yourself
- Freshness becomes a number you chose: with a fixed duration per status code, you know exactly how old a cached copy can be, instead of inheriting whatever the defaults decide.
- Errors are contained: a deliberately short duration on an error code absorbs a burst of requests for a missing file without keeping the error cached for hours.
- Paths keep their own rules: every location carries the same cache controls, so
/images/can cache for a day while the checkout never caches at all.
Step 1: Open the Advanced General Page
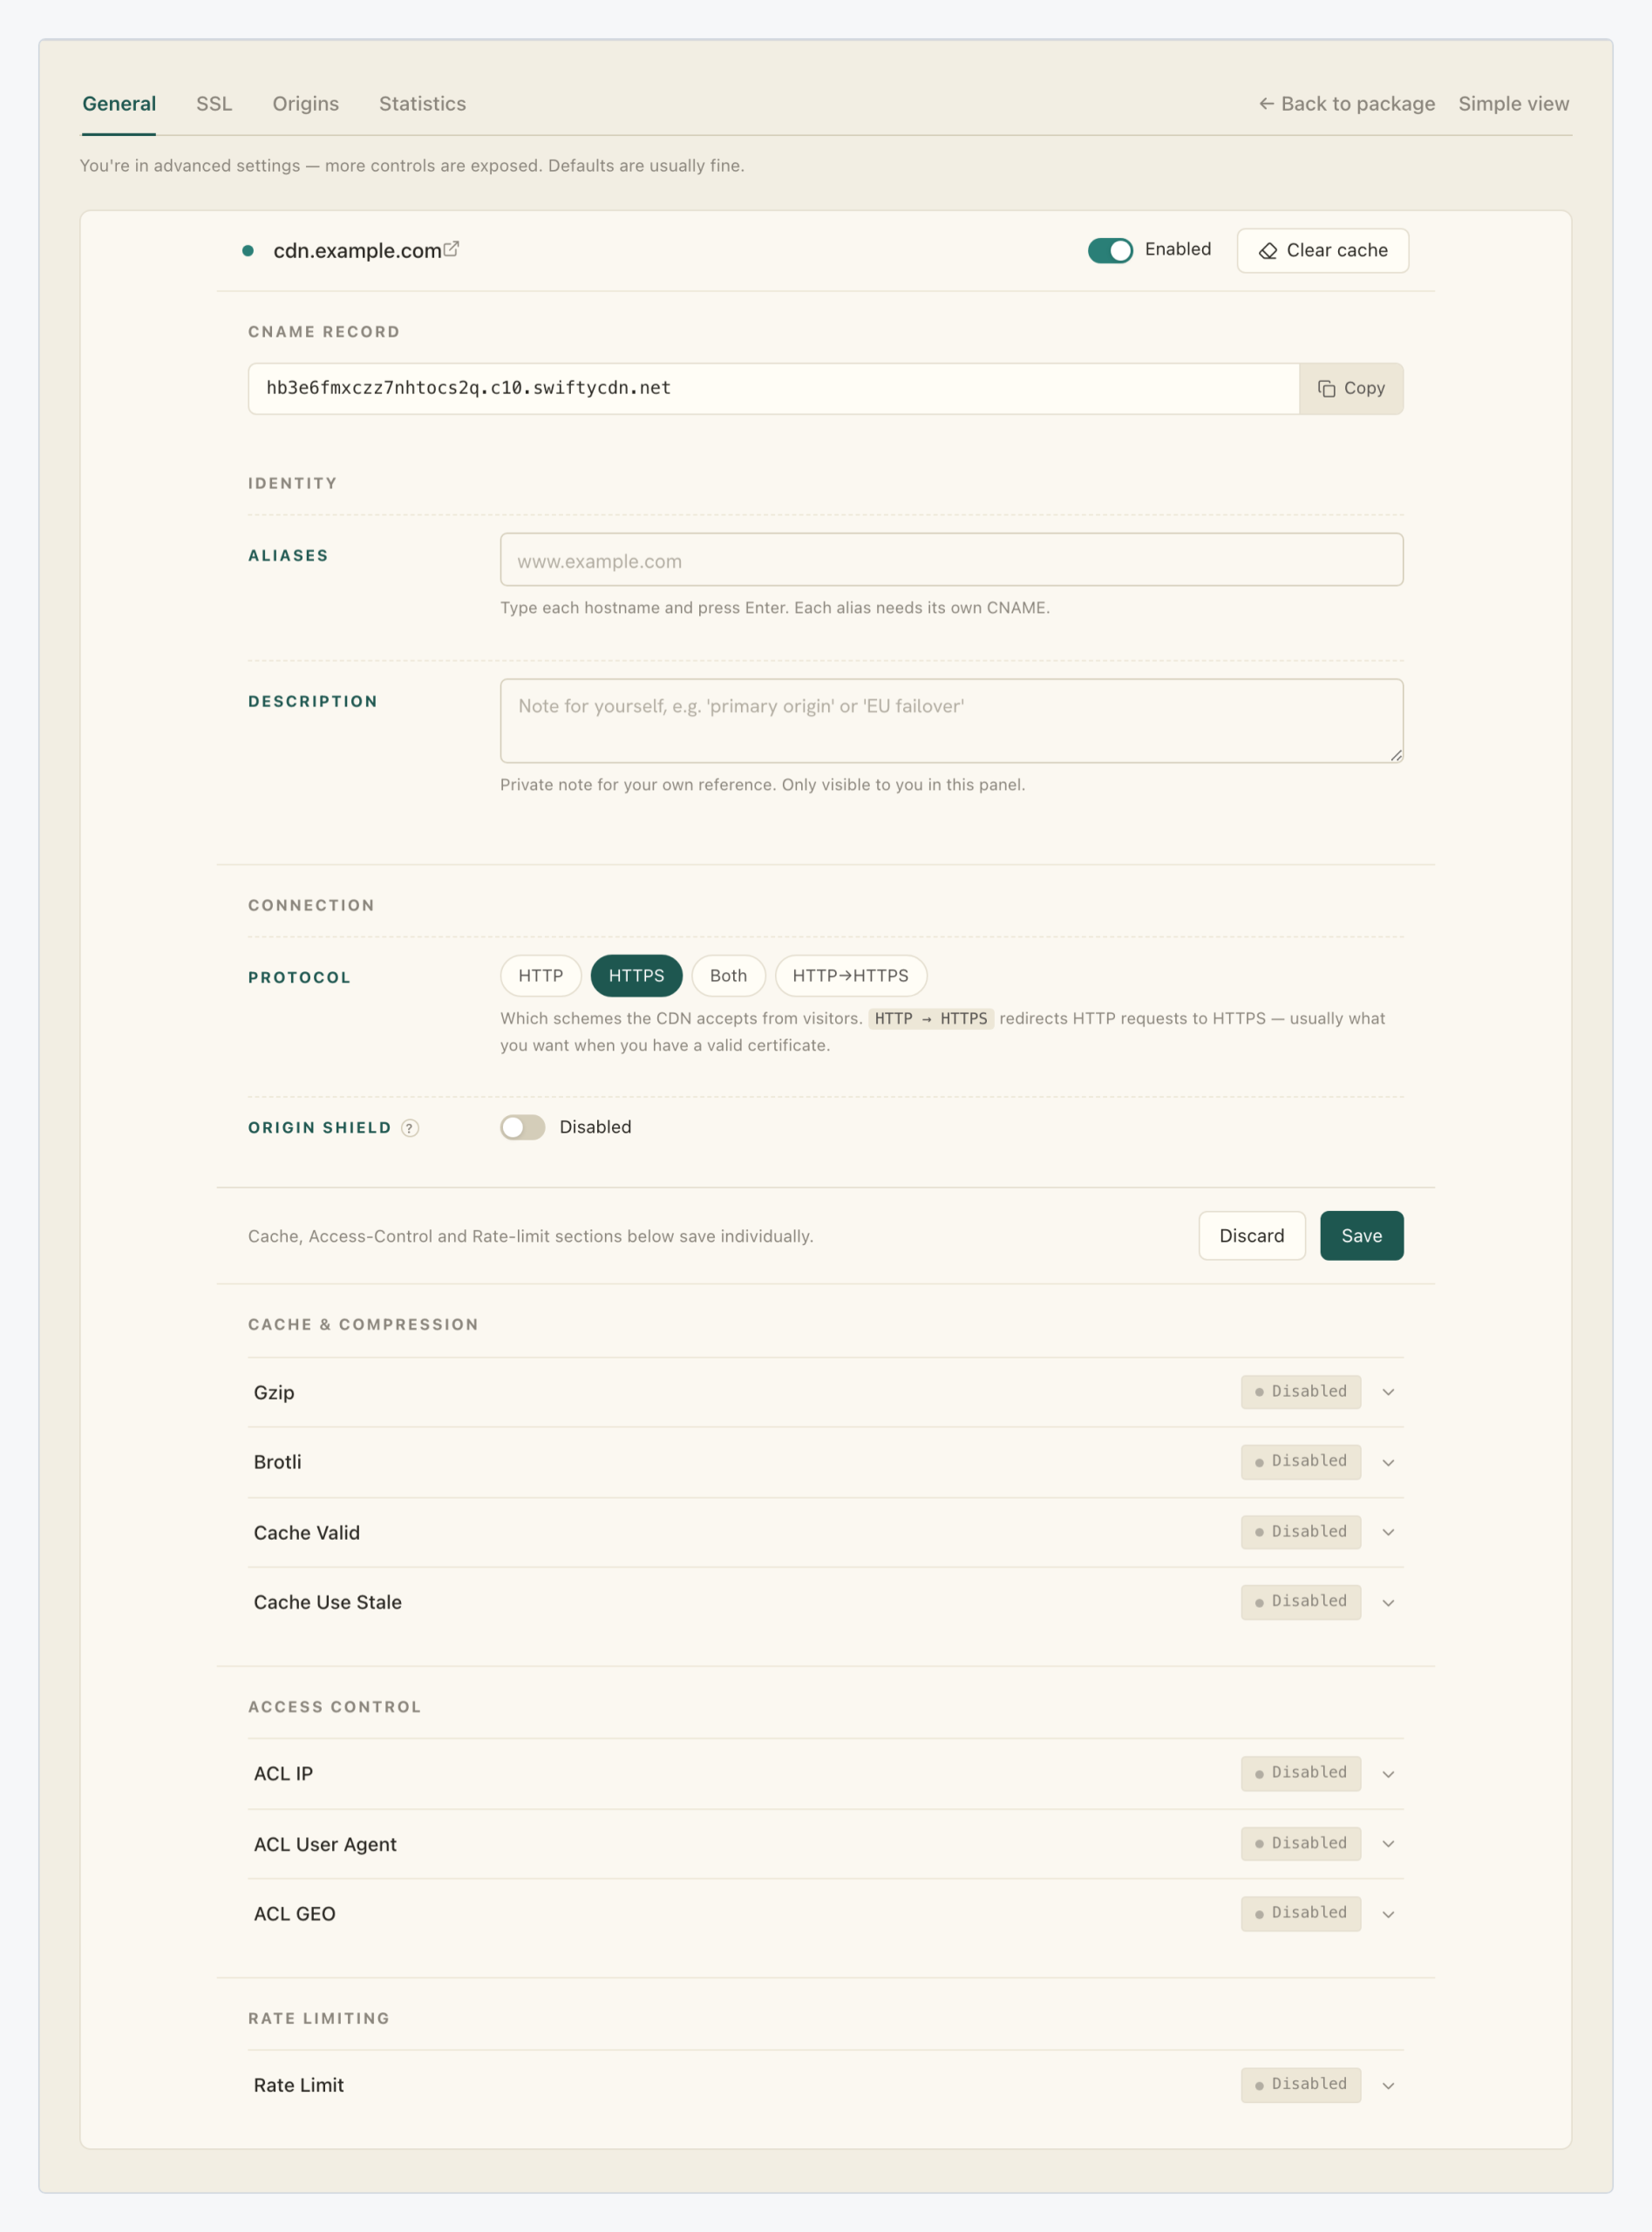
In the Resources table of your package, click the gear icon (Edit resource settings) on the resource’s row, then click Advanced settings. The advanced General page stacks the feature groups below the resource form: Cache & Compression, Access Control and Rate Limiting.
Step 2: Expand the Cache Valid Row
The Cache & Compression section holds four collapsed rows: Gzip, Brotli, Cache Valid and Cache Use Stale, each with a status pill (Disabled on a fresh resource) and a chevron. Click the Cache Valid row to expand its editor; expanding changes nothing on the resource.

These rows save individually: each expanded editor applies through its own Save button, independent of the resource form above. The neighbouring rows are their own topics: compression in Enable Gzip and Brotli Compression on Your CDN, and the stale-content fallback in How to Minimize Downtime When Your Website Is Down.
Step 3: Add the Status Codes the CDN May Cache
The expanded editor is compact: an Add HTTP code select, a + Add button, a hint listing the duration formats, and the section’s Save. There is no on/off toggle; the code rules you build here are the whole configuration.
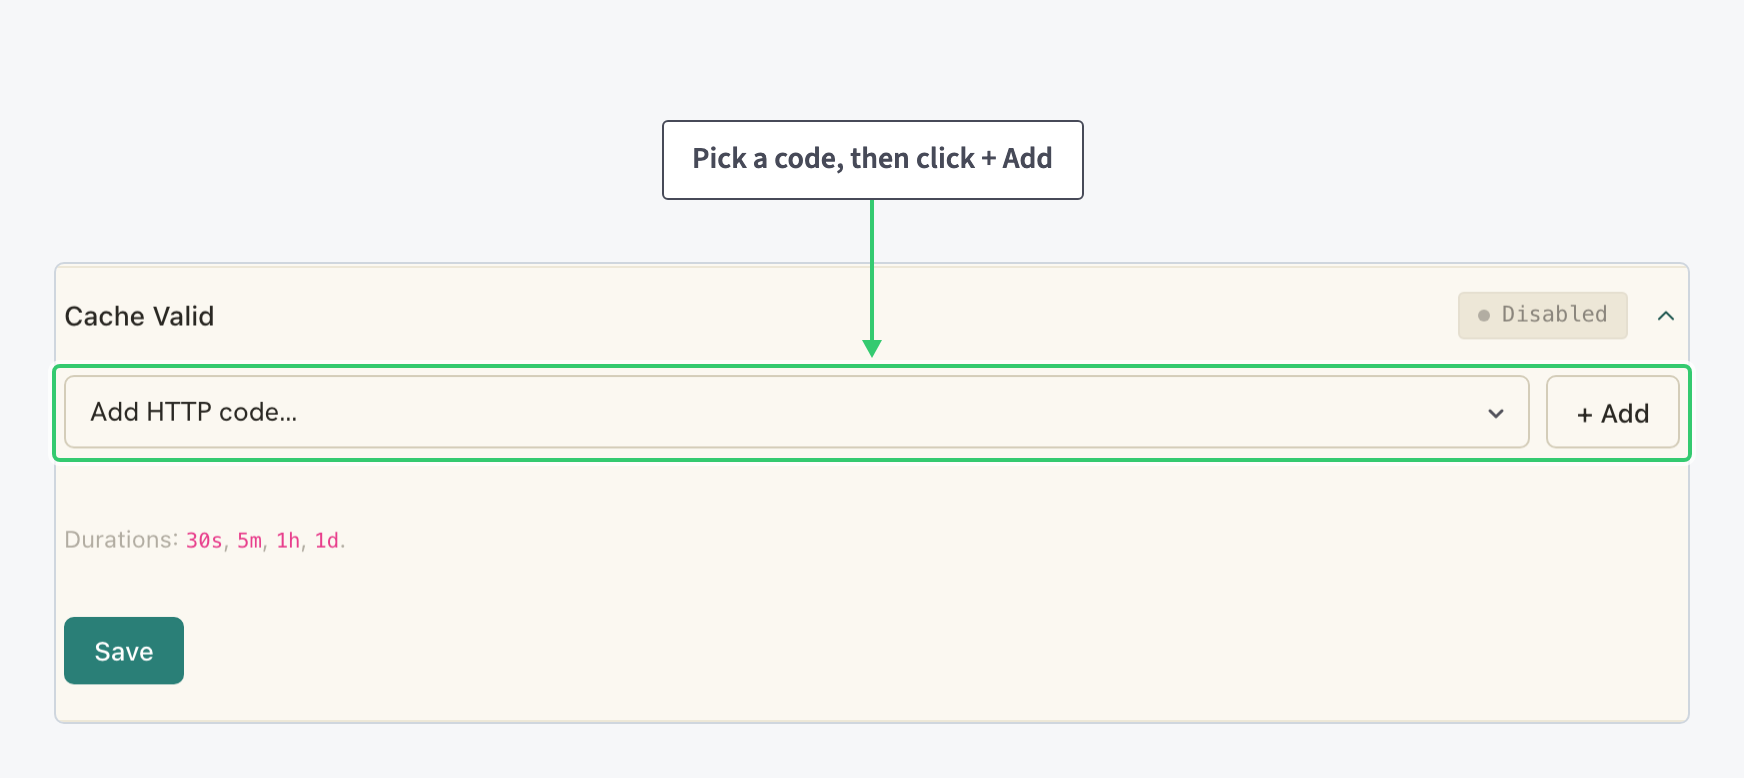
The select offers eleven status codes:
| Group | Codes |
|---|---|
| Success | 200 (OK), 201 (Created), 204 (No Content) |
| Redirects | 301 (Moved Permanently), 302 (Found) |
| Client errors | 404 (Not Found), 410 (Gone) |
| Server errors | 500 (Server Error), 502 (Bad Gateway), 503 (Unavailable), 504 (Timeout) |
Pick a code and click + Add. A rule row appears for it, and the code leaves the dropdown, so each code holds exactly one duration. Repeat for every code you want the CDN to cache; 200 is the one almost every site starts with.
Step 4: Give Each Code a Fixed Duration
Each staged row shows the code, a duration field (placeholder e.g. 10m, 1h, 1d) and a red × that removes the rule. Durations take 30s, 5m, 1h or 1d: seconds, minutes, hours and days.
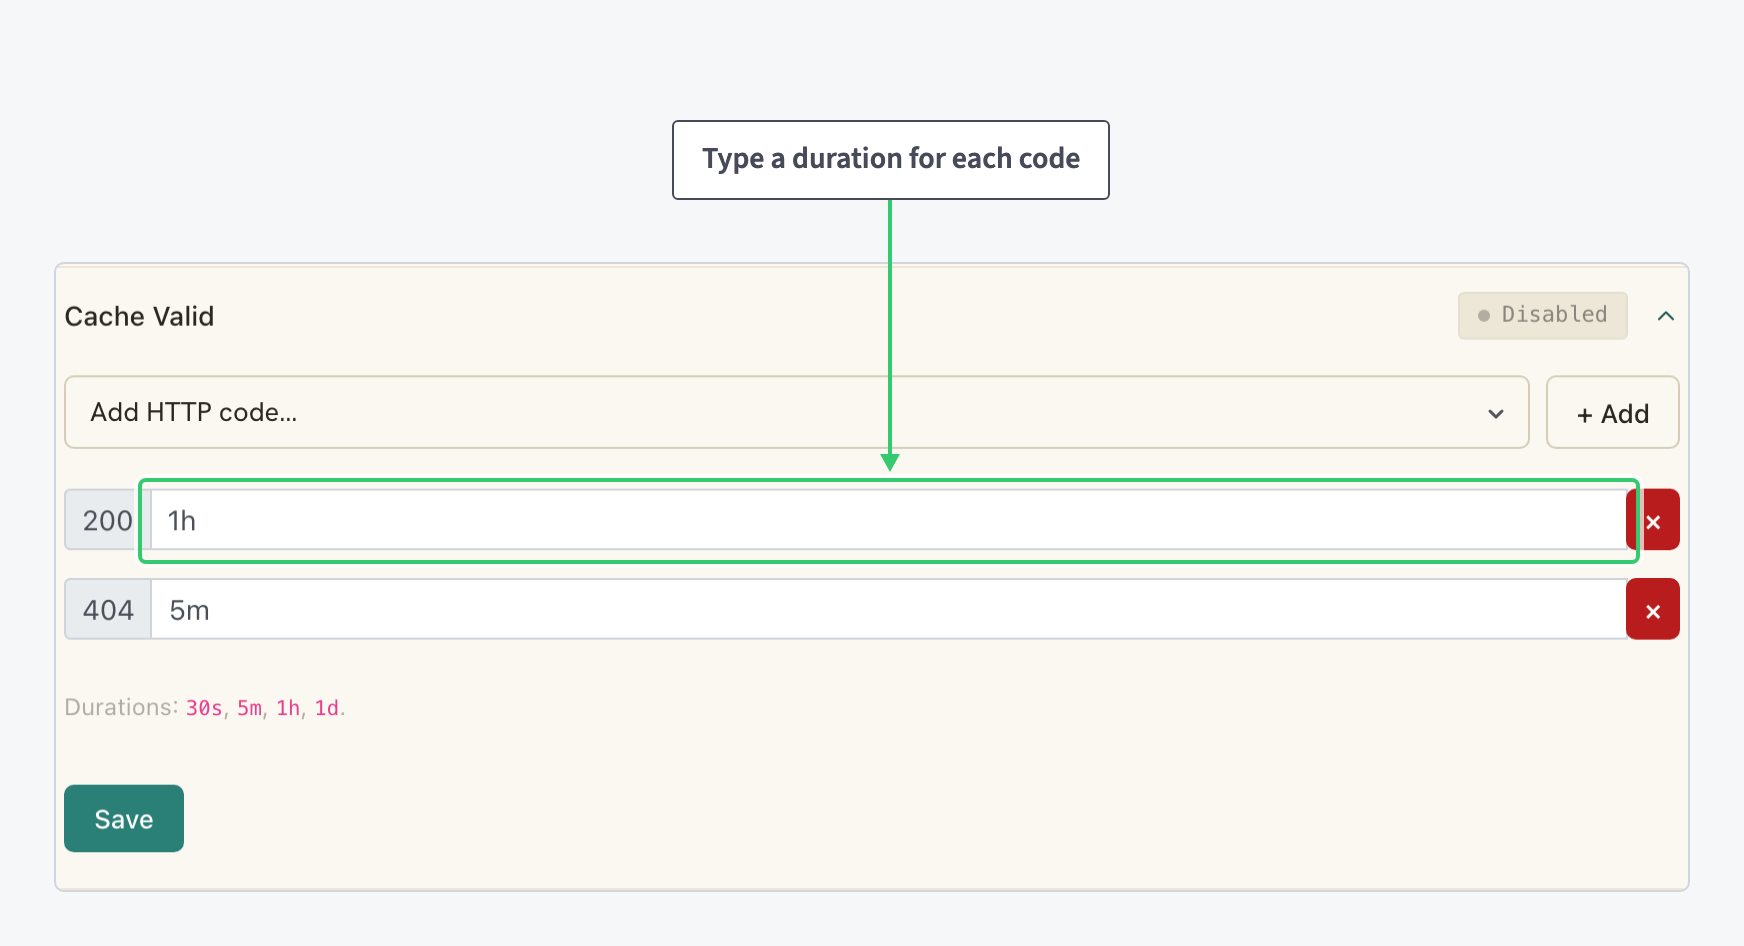
A starting point that serves most sites:
| Code | Duration | Why |
|---|---|---|
200 |
1h |
Long enough that repeat traffic stays at the edge, short enough that routine changes surface within the hour. Purge covers anything that cannot wait (Step 7). |
404 |
5m |
A heavily requested missing file stops reaching your origin, and the page recovers minutes after you fix it. |
Skip the server error codes unless you have a reason to cache failures; the better tool for surviving them is Cache Use Stale, which serves cached content past its expiry when the origin is unreachable or returning errors. Type the durations, then click the section’s Save to apply your staged rules; the row’s pill reflects the saved state, not what is staged.
Step 5: Route the Paths That Need Different Caching
Resource-wide rules fit most of a site, not all of it. The exceptions get a location: a path-based routing rule that can override cache settings for one URL prefix. Open the Origins tab of the advanced view; the Locations panel lists every rule, starting with the catch-all /, with a counter (a resource holds up to 10).
Click + Add a Location, enter the path prefix, for example /images/, add an optional description, and click Save:
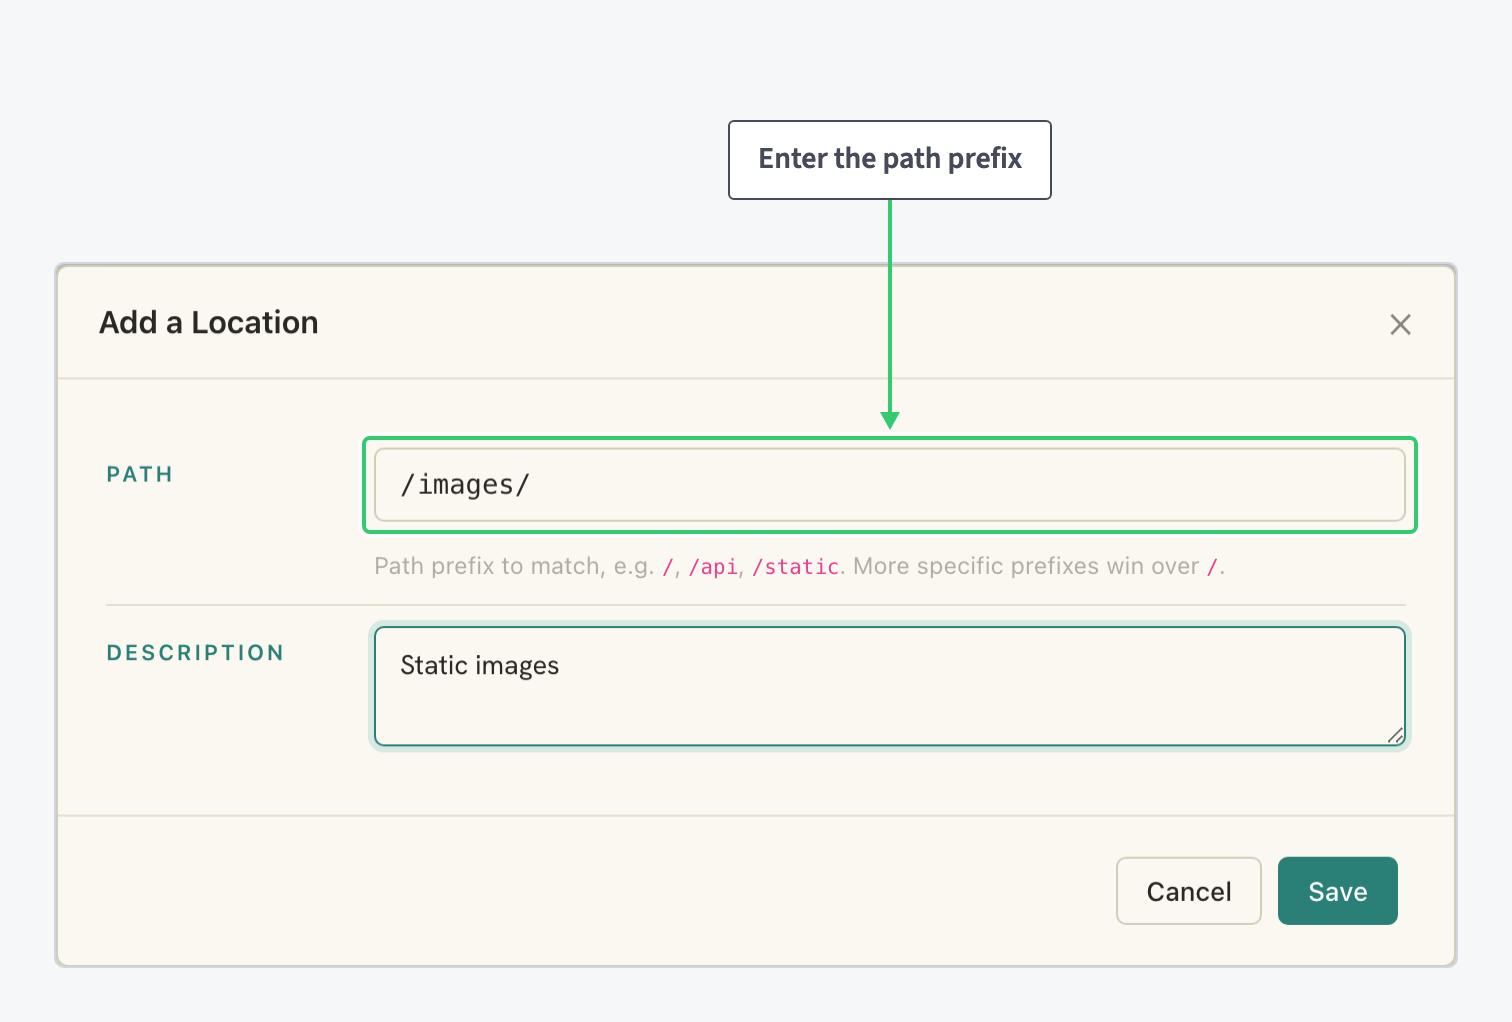
More specific prefixes win over /. So /images/logo.png follows the new location’s rules while everything else keeps following the catch-all. The full walkthrough of locations is in Route and Configure a Specific URL Path on Your CDN.
Step 6: Bypass or Override the Cache per Path
Click a location’s row to expand its card; every card carries the same sections. The catch-all / is the one expanded here:

Caching gives you two controls on this card:
- Bypass: the Disable Cache toggle in the General section. When on, the location proxies every request straight to the origin: the standard treatment for dynamic APIs and authenticated endpoints. Switch it on for paths like
/cart/or/api/and click the section’s Save. - Override: the card’s own Cache & Compression group repeats the four rows from Step 2, including Cache Valid. A location’s Cache Valid editor carries the same code select, rule rows and duration formats as Steps 3 and 4, so
/images/can carry a200rule of1dwhile the rest of the resource keeps the hourly default you set.
Rules you enable on a card affect only requests matching that location’s prefix; the resource-wide rules from Step 4 keep covering everything else.
Step 7: Purge When Content Changes Ahead of Schedule
Fixed durations mean the edge serves its copy until the duration expires. When you deploy new CSS or replace an image before that, purge is the tool. In the Resources table, click the eraser icon (Clear cache) in the resource’s Actions column:

Enter a relative path: /assets/style.css clears one file, a path ending in / clears that folder and everything under it, and an empty path clears the whole resource, which your origin then refills one miss at a time. Details and the API call for deploy pipelines: Purge a URL or Your Entire CDN Cache.
What You’ve Built
A cache with an explicit contract. The CDN stores exactly the status codes you listed, holds each one exactly as long as you decided, and honours the exceptions: paths that cache longer because their content lives longer, and paths that never cache because they must not. When content changes before its duration expires, a purge closes the gap.
Watch the effect in the HIT % counter in your resource’s statistics, read in Monitor CDN Traffic and Cache Performance. Durations are one half of the performance work; the other controls, compression and Origin Shield, form the tuning pass in How to Tune Your CDN for Web Performance.