
Not every visitor should reach your CDN. The restrictions live in two sections of the advanced General page: Access Control, with one editor per criterion (ACL IP for addresses, ACL User Agent for clients, ACL GEO for countries), and Rate Limiting, which caps how fast any single visitor can request.
This tutorial opens all four editors, documents every field they expose (list syntax, allow and deny policies, limit units, burst), and explains how the per-section Save applies each rule.
Prerequisites
- A CDN resource already created. See Add your first CDN resource.
- Client Area access to the package.
Step 1: Open the advanced General page
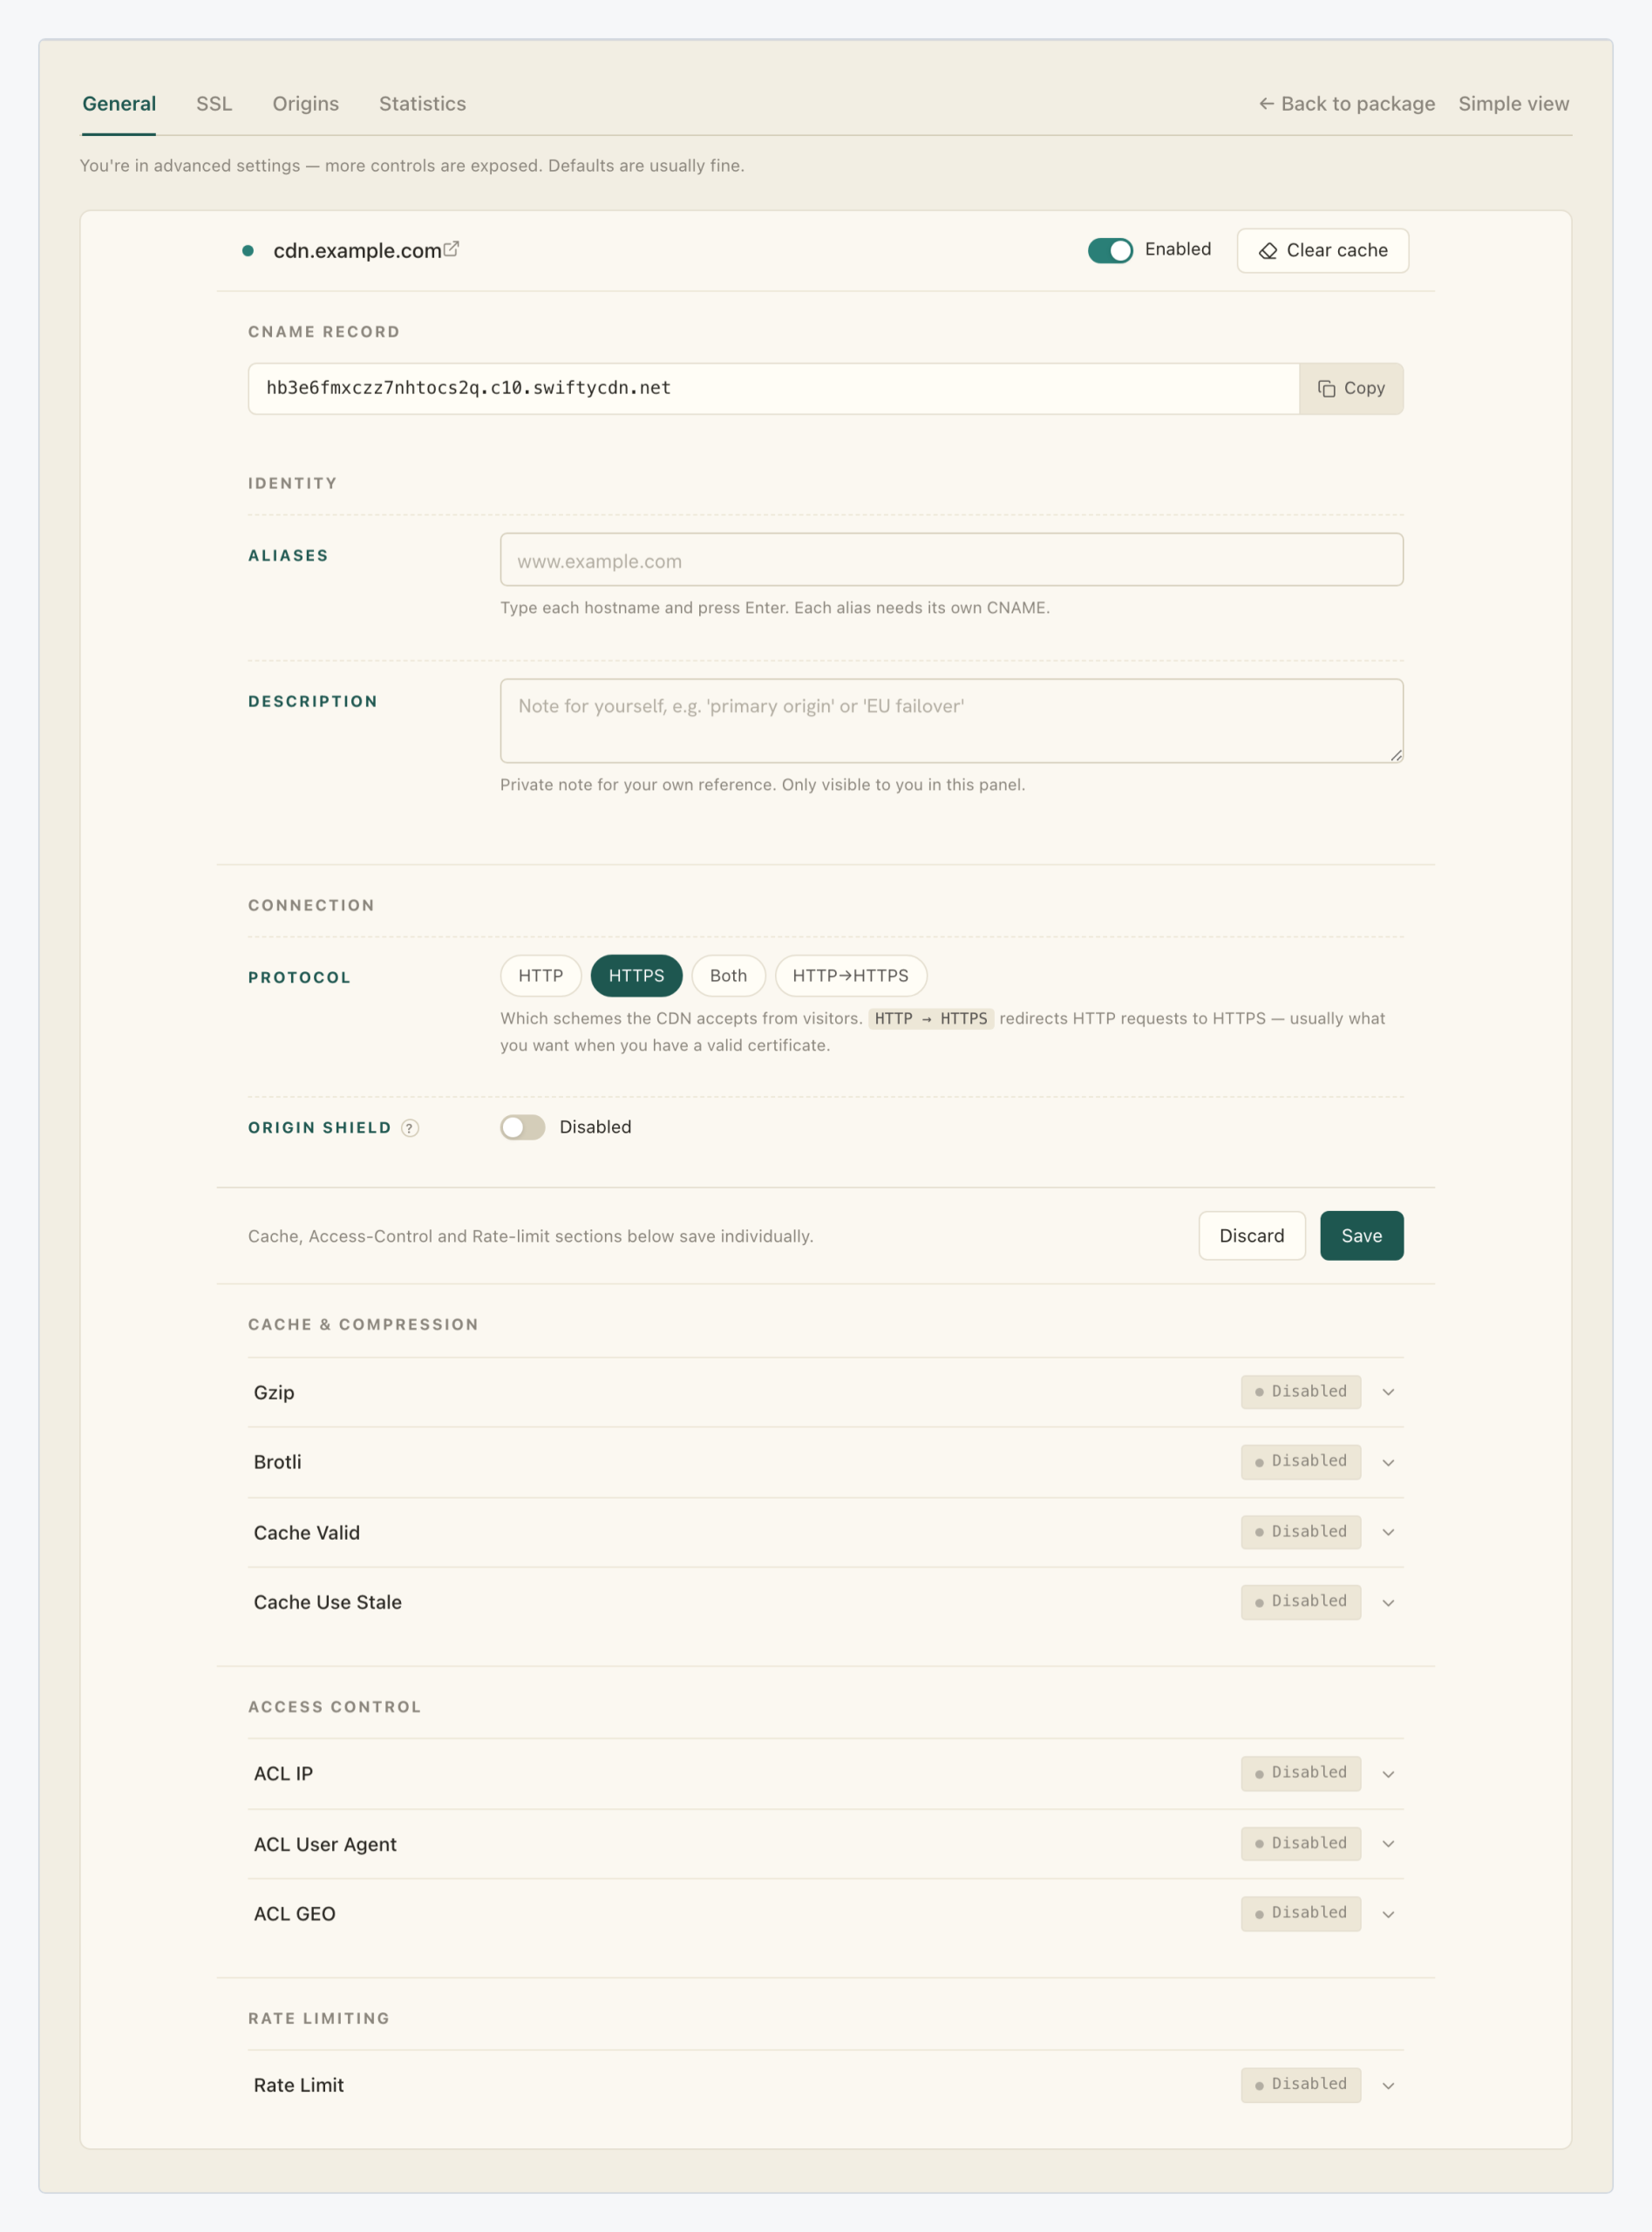
In the Resources table of your package, click the gear icon (Edit resource settings) on the resource’s row, then click Advanced settings. The advanced General page stacks the feature groups below the resource form: Cache & Compression, Access Control and Rate Limiting.
Step 2: Expand the ACL IP row
The Access Control section holds three collapsed rows: ACL IP, ACL User Agent and ACL GEO, each with a status pill (all Disabled on a fresh resource) and a chevron. Click a row head to expand its editor; expanding changes nothing on the resource.
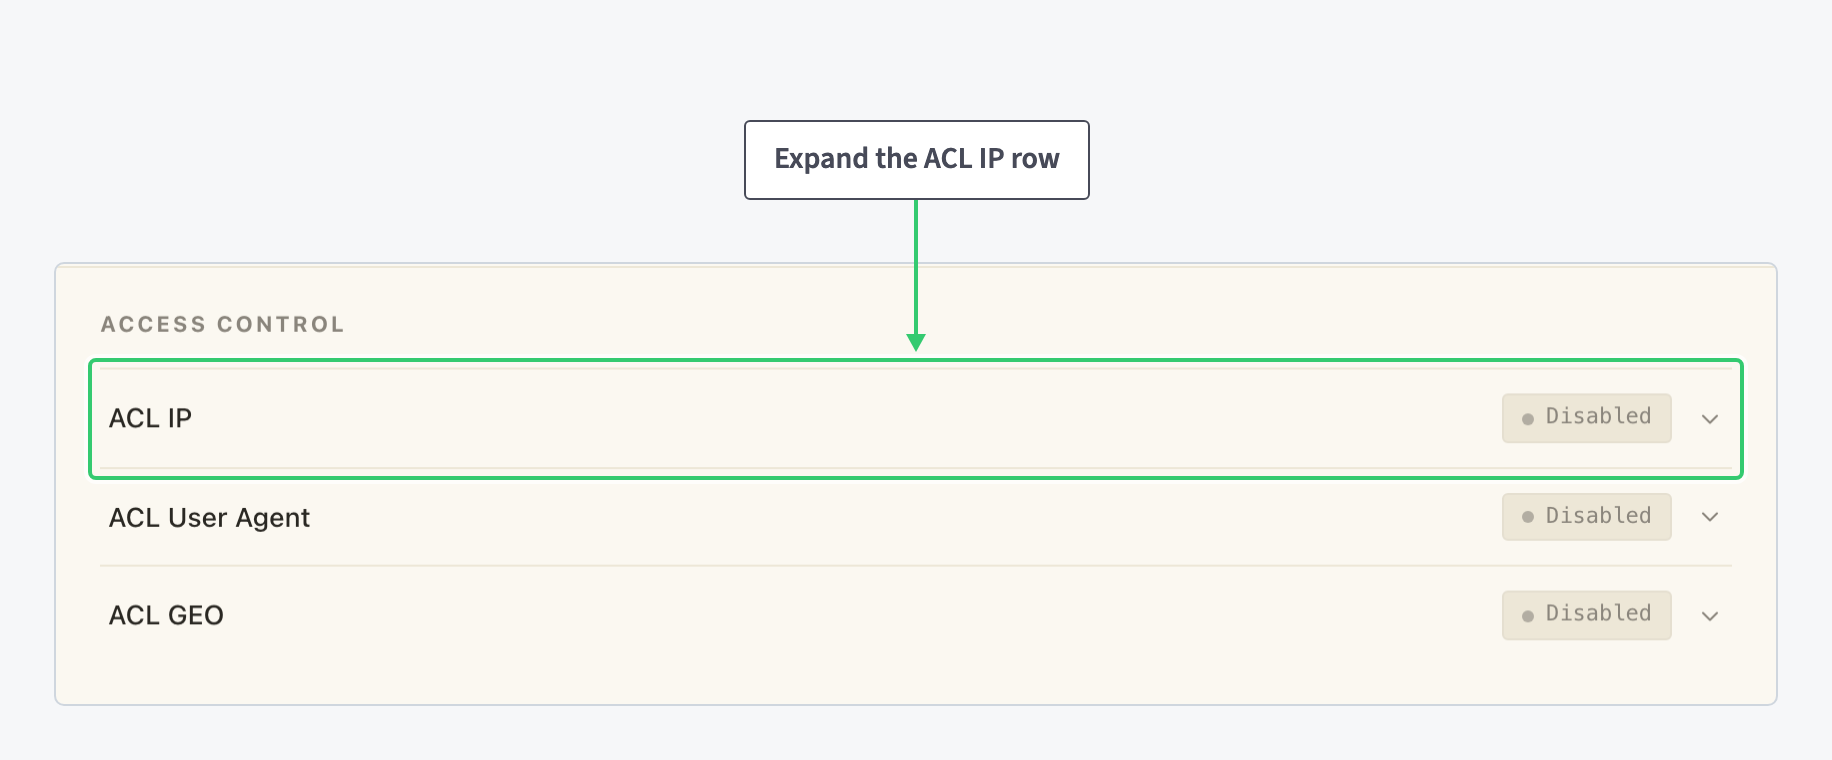
Each row is its own small form with its own Save button; the resource form’s note states it: “Cache, Access-Control and Rate-limit sections below save individually”. Until you click a section’s Save, everything you toggle or type stays staged in the page, and the row’s status pill keeps showing the saved state.
Step 3: Restrict by IP address or CIDR range
The expanded ACL IP editor opens with its purpose in one line: “Restrict which IPs/CIDRs can access this resource.”

| Setting | Value |
|---|---|
| Enable ACL IP | The on/off toggle for the rule. |
| Policy | A two-way switch: Block listed (deny the entries in your list, admit everyone else) or Allow only listed (admit only the entries in your list, deny everyone else). |
| IP addresses or CIDR ranges | The list itself, “One IP or CIDR per line. IPv4 and IPv6 supported.” The field’s placeholder shows the accepted forms: 192.168.1.0/24, 10.0.0.1, 2001:db8::/32. |
Switch on Enable ACL IP, pick the policy, type one entry per line and click the section’s Save. A blocklist is the usual choice for blocking abusive addresses; allow-only is the stricter posture for a resource that only a known office or backend should reach.
Step 4: Block or allow user agents
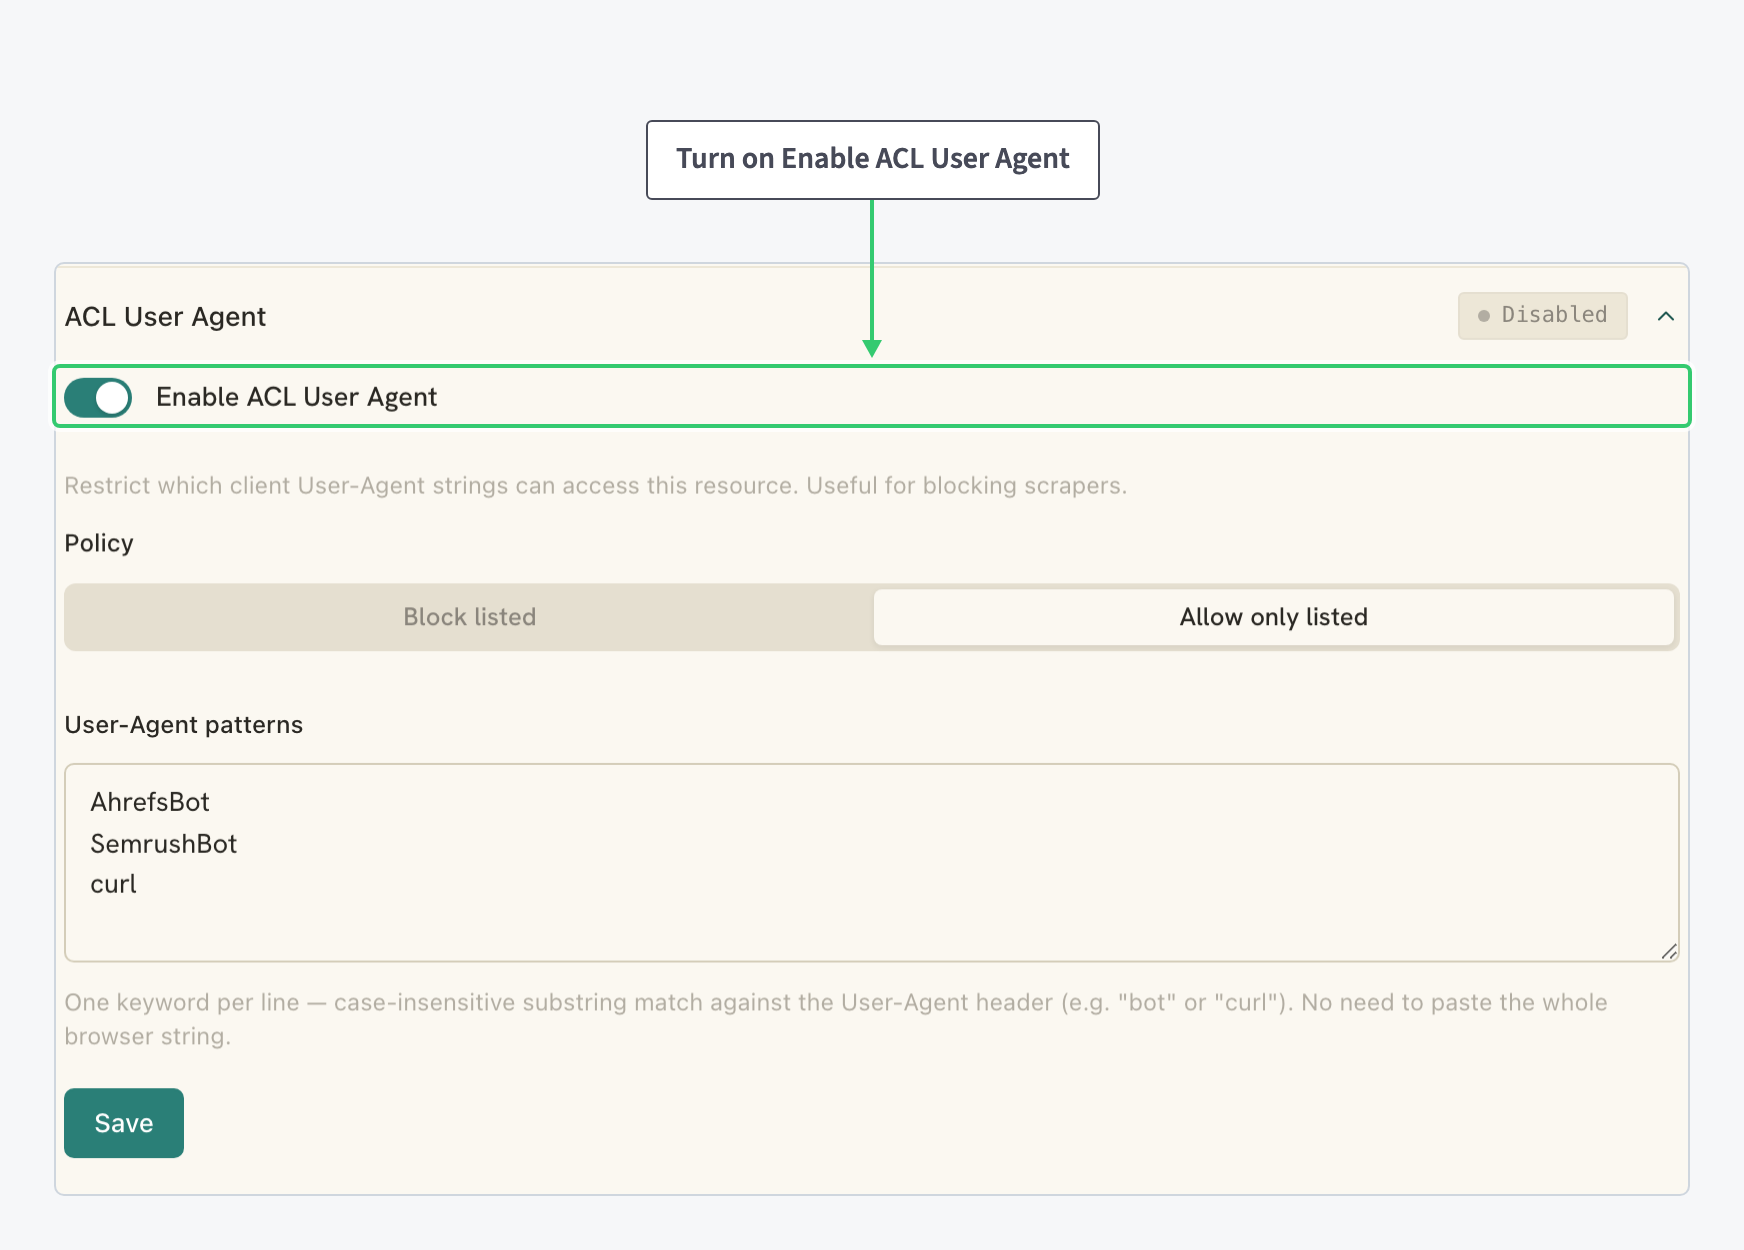
Back in the section list, expand ACL User Agent. It restricts which client User-Agent strings can access the resource: the tool for blocking scrapers.
| Setting | Value |
|---|---|
| Enable ACL User Agent | The on/off toggle for the rule. |
| Policy | The same Block listed / Allow only listed switch as ACL IP. |
| User-Agent patterns | One keyword per line. Each entry is a “case-insensitive substring match against the User-Agent header”, so per the hint’s own examples, bot or curl is enough: there is “no need to paste the whole browser string”. The placeholder suggests AhrefsBot, SemrushBot and curl. |
Because matching is by substring, a single short pattern can cover a whole family of clients: bot alone matches every agent string containing it. Keep patterns as specific as your intent, then Save the section.
Step 5: Restrict by country or region
The third editor, ACL GEO, filters by where the request comes from: “Restrict access by visitor country (geo-IP detected). Useful for compliance and abuse mitigation.”

| Setting | Value |
|---|---|
| Enable ACL GEO | The on/off toggle for the rule. |
| Policy | The same Block listed / Allow only listed switch, applied to places instead of addresses. |
| Countries and Regions | A searchable multi-select with a running selected counter. The list opens with eleven regions (Europe, CIS, North America, South America, East Asia, Southeast Asia, South Asia, Central Asia, Middle East, Africa, Oceania) followed by individual countries; picked entries appear as removable chips. A Region includes countries link below the field expands the mapping. |
Regions are shorthand: picking Europe covers its member countries in one entry, and you can mix regions with single countries in the same list. Choose the policy, make your picks and click Save.
Step 6: Cap request rates per visitor
The Rate Limiting section below Access Control holds one row, Rate Limit: “Limit how many requests a single visitor can make over time. Prevents abuse and protects your origin.”

| Setting | Value |
|---|---|
| Enable | The on/off toggle for the per-IP limit. |
| Rate | A number from 1 to 9999 plus a unit select, per second or per minute. Default 10 per second. |
| Burst | “Extra requests over the rate that get queued (not rejected) briefly. 0 disables bursting.” Default 20. |
An Advanced disclosure adds a second, independent limit, the per-URL rate limit: “A separate limit applied per URL path (independent of the per-IP limit above). Useful for protecting specific expensive endpoints.” It repeats the same three fields (Enable, Rate with its unit, Burst) for the per-path counter. Set the numbers and click the section’s Save.
The burst is what keeps a legitimate page load with many assets from tripping the limit: short spikes queue instead of failing, while a sustained flood still gets cut off.
What you’ve locked down
Your resource can now turn requests away on every axis the panel exposes: by address list, by client signature, by country or region, and by request rate. Each rule saves independently and switches on its own toggle.
All four sections exist a second time as per-path overrides inside a location. An admin area can run allow-only IP rules while the rest of the site stays open, or one expensive endpoint can carry its own rate limit: see Route and configure a specific URL path on your CDN.