
This guide details the process of deploying Kubernetes (K8s) clusters on vMesh private networks, providing low latencies, improved security and network isolation for your containerized applications.
Prerequisites
- Multiple Linux VPS Cloud instances with at least Ubuntu 22.04 installed
- Administrative (root) access to each VPS
- vMesh private network connectivity between VPS instances (see How to configure your vMesh private network on Linux)
We will replicate the following network topology as an illustrative example:
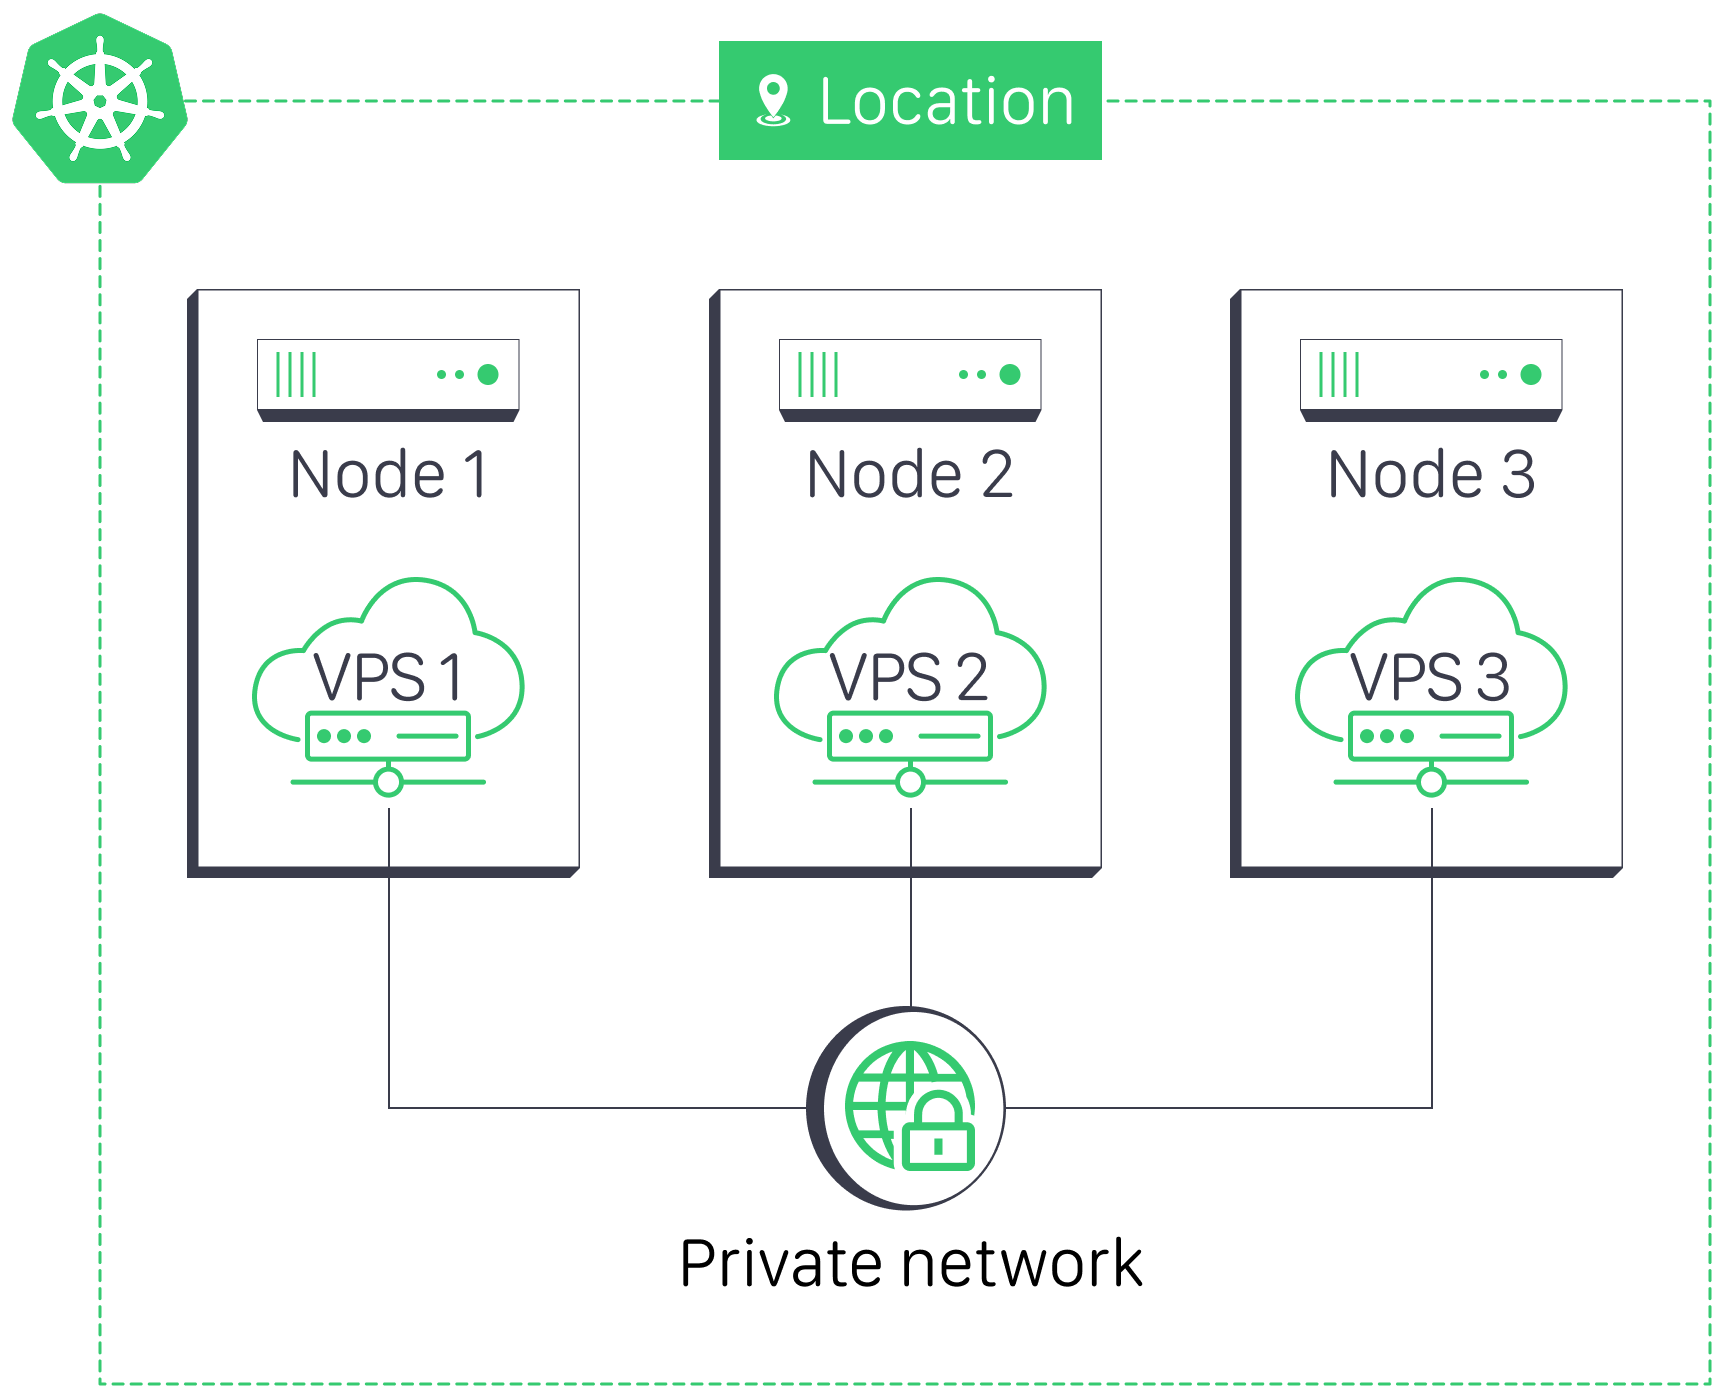
Step 1: Configure the private network interfaces
Edit the /etc/network/interfaces file on each VPS:
auto eth1
iface eth1 inet static
address 10.10.0.2
netmask 255.255.255.0
auto eth1
iface eth1 inet static
address 10.10.0.3
netmask 255.255.255.0auto eth1
iface eth1 inet static
address 10.10.0.4
netmask 255.255.255.0Step 2: Apply the configuration and verify connectivity
Restart the networking service on each node:
sudo systemctl restart networking.serviceThen test connectivity between all nodes:
ping 10.10.0.3
ping 10.10.0.4
Step 3: Install the Kubernetes packages
Update package lists and install prerequisites:
sudo apt-get update
sudo apt-get install -y apt-transport-https ca-certificates curl software-properties-common
Add the Kubernetes apt repository:
curl -s https://packages.cloud.google.com/apt/doc/apt-key.gpg | sudo apt-key add -
echo "deb https://apt.kubernetes.io/ kubernetes-xenial main" | sudo tee /etc/apt/sources.list.d/kubernetes.list
Update package lists again and install the Kubernetes components:
sudo apt-get update
sudo apt-get install -y kubelet kubeadm kubectl
sudo apt-mark hold kubelet kubeadm kubectl
Step 4: Configure the container runtime
Install containerd and create its default configuration:
sudo apt-get update
sudo apt-get install -y containerd
sudo mkdir -p /etc/containerd
containerd config default | sudo tee /etc/containerd/config.toml
Update the configuration to use the systemd cgroup driver, then restart:
sudo sed -i 's/SystemdCgroup = false/SystemdCgroup = true/g' /etc/containerd/config.toml
sudo systemctl restart containerd
sudo systemctl enable containerd
Step 5: Initialize the Kubernetes cluster
On the control plane node (VPS Cloud 1), disable swap:
sudo swapoff -a
sudo sed -i '/ swap / s/^\(.*\)$/#\1/g' /etc/fstab
Initialize the cluster with the private network CIDR:
sudo kubeadm init --pod-network-cidr=10.10.0.0/24 --apiserver-advertise-address=10.10.0.2Set up kubectl for the current user:
mkdir -p $HOME/.kube
sudo cp -i /etc/kubernetes/admin.conf $HOME/.kube/config
sudo chown $(id -u):$(id -g) $HOME/.kube/config
Step 6: Install and configure Calico CNI
Download and apply the Calico manifest:
curl https://docs.projectcalico.org/manifests/calico.yaml -O
kubectl apply -f calico.yaml
Configure Calico to use the private network CIDR:
kubectl set env daemonset/calico-node -n kube-system IP_AUTODETECTION_METHOD=cidr=10.10.0.0/24Troubleshooting
Network issues
- Verify interface configuration with
ip addr show - Check routing tables with
ip route - Test connectivity with
pingandtraceroute
Kubernetes issues
- Check pod status:
kubectl get pods -A - View logs:
kubectl logs <pod-name> -n <namespace> - Check node status:
kubectl describe node <node-name>
What you’ve built
Your cluster is live. Three VPS now act as one platform: the control plane and every node speak over a private network the public internet cannot reach, pods get low-latency traffic between nodes, and the API server advertises only its mesh address. Adding capacity is a matter of joining another VPS to the mesh and running kubeadm join. From here, deploy your first workload with kubectl and let the scheduler do the rest.